If your Singer Featherweight is missing its instruction manual, we have replicas available for both the Singer 221 and Singer 222. You can then read along as you follow Ruthie in the Getting To Know Your Featherweight Series. Related Products and Helpful Tutorials: Presser Foot Stitch Length Lever Stitch Length Indicator Plate (styles vary by year) Stitch Length Plate Screws (only) Presser Bar Tension Screw Thread Post How to Adjust the Stitch Length Lever - Maintenance Tutorial How to Adjust Presser Foot Pressure: Part 1 and Part 2 REVERSE and BACKSTITCHING: The Featherweight has a simple forward and reverse straight...
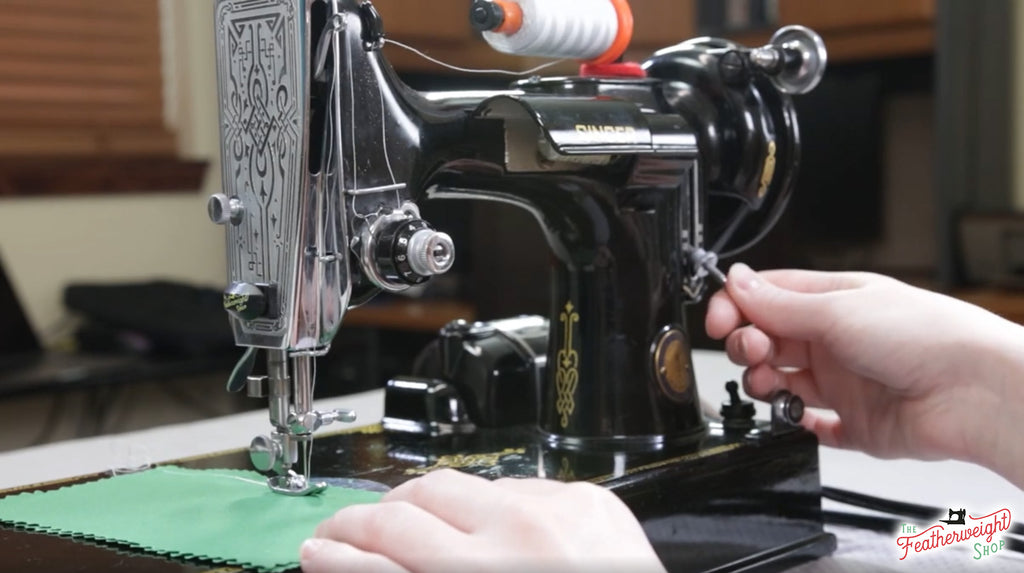
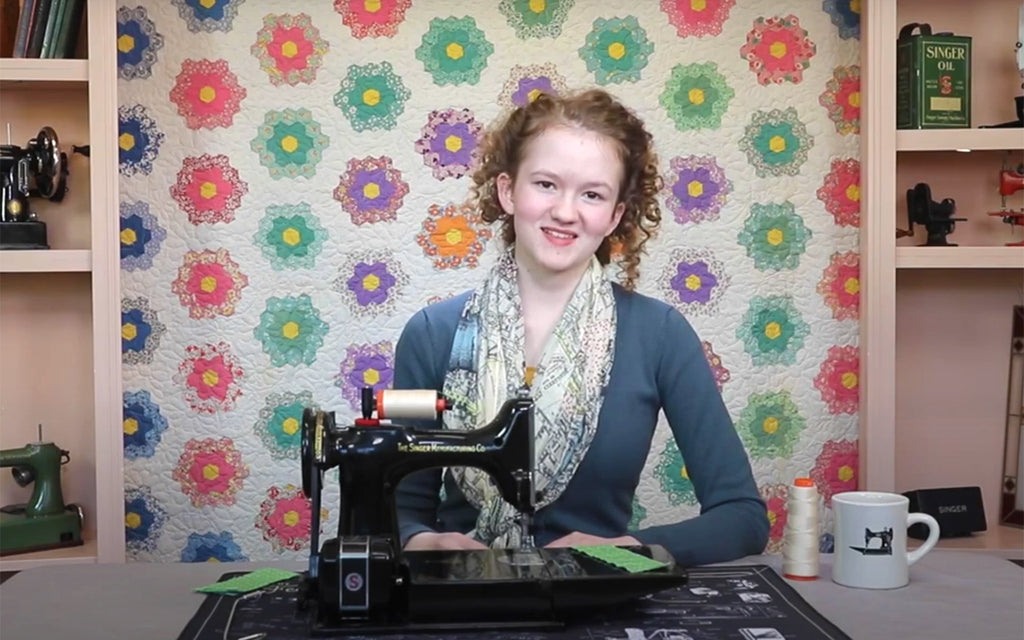
Let's continue working through the instruction booklet that comes with the Singer Featherweight 221 or 222, learning how to Prepare For Sewing in Part 6 of our Getting To Know Your Featherweight Series. Follow along with the video tutorial above, or scroll down and read through the text and images below.Suggested Products:1) Singer Featherweight Instruction Booklet2) Crosswound Spool of thread: Aurifil or Presencia3) Thread Cutterz or Thread Snips4) Presser Foot or Quarter Inch Foot5) Thread Stand or Thread Post6) Fabric7) Singer Featherweight Instruction Manual 221 or 222 ********************************* Last session, in Part 5, Ruthie instructed on how to prepare for sewing with the Singer Featherweight. In this segment, she continues her instruction with how to precisely turn a corner. TURNING A CORNER: Using practice fabric...
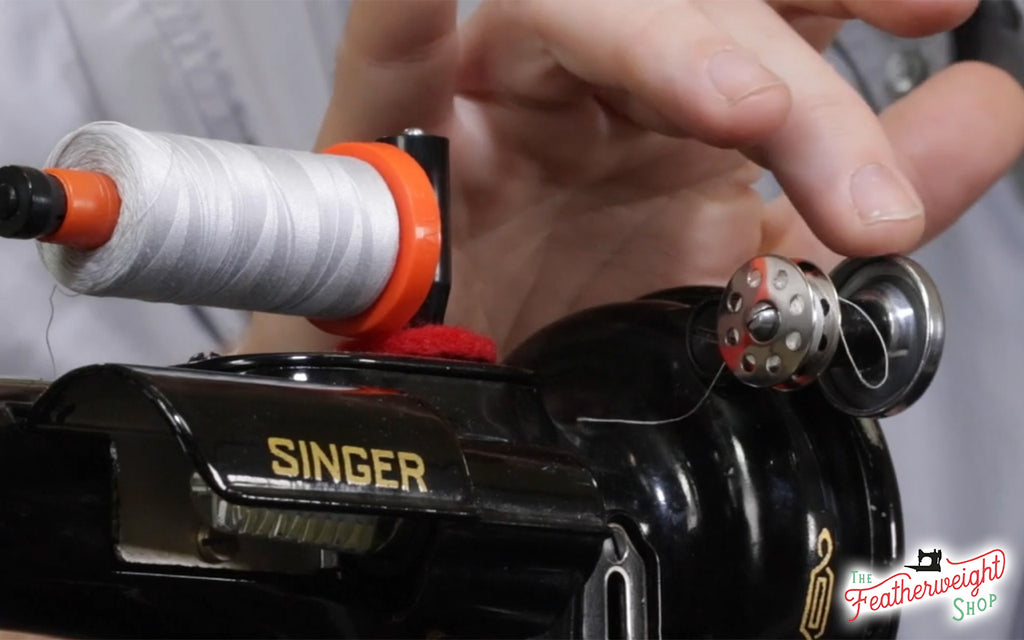
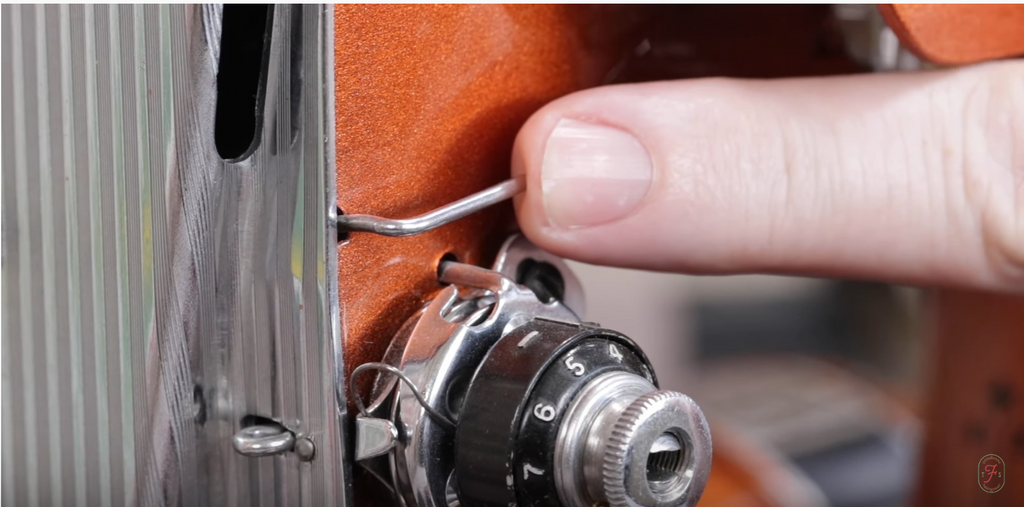
Do you have to hold the bobbin winder down in order to get it to wind? If so, then the washers around the bobbin winder screw either need replaced or turned around. Follow the video tutorial or step-by-step photo tutorial below to learn a few simple tips for servicing your Singer Featherweight Bobbin Winder. Relevant Parts and Products: Bobbin Winder Bobbin Winder Washer Bobbin Winder Screw Singer Featherweight Belt Bobbin Bobbin Tension Meter Bobbin Winder Tension Bracket Sewing Machine Oil Empty Oil Bottle (for easy use with kerosene) The cupped washer keeps consistent pressure on the bobbin winder arm, resulting in pressure...
During WWII, when order L-98 was issued by the government in June of 1942, all production of family sewing machines came to a halt. This order deemed production of items like sewing machines as unnecessary or non-essential. As a result, Singer shifted very quickly into making much-needed parts and supplies to help America win the war. The enormous and well-equipped Singer factories across the globe were able to rise to the call, not only in production but research as well! Below are a few accounts from Singer archives of how they, directly and indirectly, contributed to the success of D-Day, 77 years ago....
Looking back at books, magazines, and historical records it appears that Singer was a great company to work for. They provided many benefits and great facilities for their workforce. Singer wanted their employees to be able to state proudly, "I work for the Singer Manufacturing Company." So little is known about what it was like working for this industrial giant 60+ years ago, but we have obtained several records from Singer with awards for years of service, promotions, and testimonies from their employees that may reveal a glimpse of a chapter of history that seems so veiled. Most of these records are...
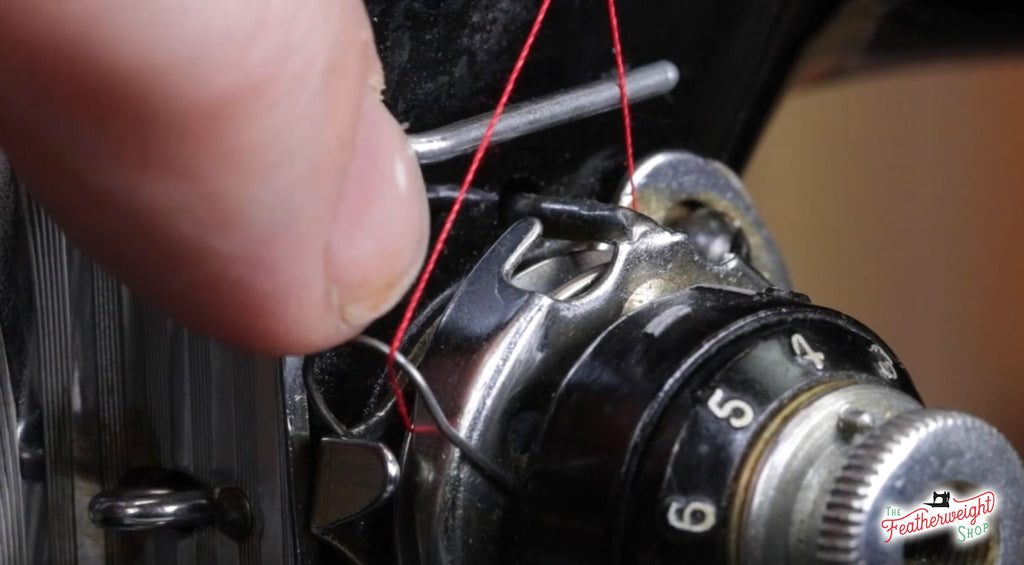
Learning to identify the thread path following a routine servicing and maintenance will help diagnose initial stitch tension inconsistencies and give confidence about learning to service a Singer Featherweight further. Parts Mentioned or Used: Tension Unit Tension Disks Upper Tension Take-Up Spring Upper Thread Guide Presser Foot Thread Post Here is a featherweight properly threaded: Comparatively, this threaded machine will have stitch troubles: At first glance, it may appear that they are threaded the same. But, as you can see when comparing the photos, the thread has missed the retaining fork in the threading process. Making a quick adjustment when threading the machine...
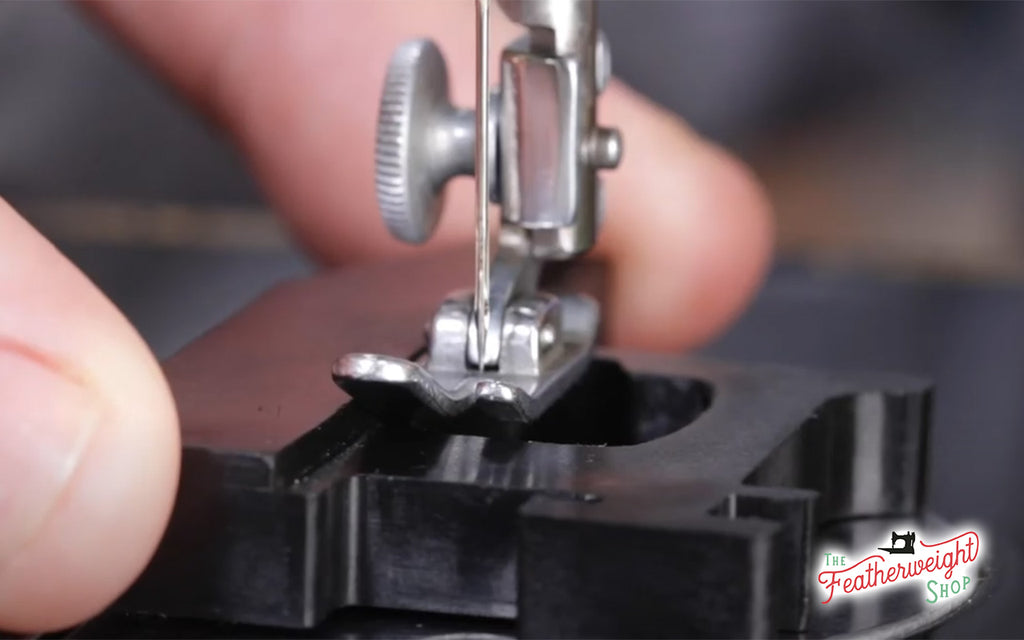
Is the presser foot misaligned? Is the fabric swimming or wandering under the presser foot? Are their skipped stitches when sewing over thick seams? Then this tutorial will help with troubleshooting these common problems. In a previous tutorial we showed how to properly adjust the actual pressure on the presser foot. Today we will discuss the proper height and position of the presser foot and how to set it accurately. Parts Discussed: Presser Foot Faceplate Screw Faceplate Presser Bar Presser Bar Clamp & Screw Pressure Knob Singer 221 Feed Dogs Throat Plate Presser Foot Gauge The pressure on the presser...
Today we are going to be addressing the presser foot pressure, or downward force on the presser foot. Parts Discussed: Presser Foot Presser Bar Presser Bar Spring Presser Bar & Spring (for white Featherweights only) Pressure Knob Singer 221 Feed Dogs Throat Plate Hook Assembly Featherweight Schematic Servicing Mat First, let’s talk about why the downward force on presser foot matters. When the presser foot is lowered and compressing the fabric, it needs a certain amount of pressure on it to both feed the fabric and assure that the thickness of the fabric is not stopping a stitch from forming. The...
One of our most popular questions is, "How should I store my Featherweight?" We do know that the Featherweight is a very hearty machine, as many owners have retrieved them from the attic, basement, or closet where they have been kept for many years - to pull them out and use them without complications. However, to ensure that the machines maintain their beautiful cosmetic appearance and perfect function, the following steps can be taken.1. Make sure that all the accessories are in their proper place. The original Featherweight accessories do have their proper place and keeping them there will save attachments from...
As we continue working through the instruction booklet that comes with the Singer Featherweight 221 or 222, we will now learn how to Prepare For Sewing in Part 5 of our Getting To Know Your Featherweight Series. Let's Prepare for Sewing! Follow along with the video tutorial above, or scroll down and read through the text and images below.Suggested Products:1) Singer Featherweight Instruction Booklet2) Thread Stand or Thread Post3) Thread Cutterz or Thread Snips4) Crosswound Spool of thread: Aurifil or Presencia5) Large Cone Thread, Mugs & Thread Stand6) Super Easy Machine Needle Threader7) Presser Foot or Quarter Inch Foot8) Singer Featherweight Instruction Manual 221 or 222 ********************************* Part 4 explained How To Properly Thread the Singer Featherweight. Since then, we...
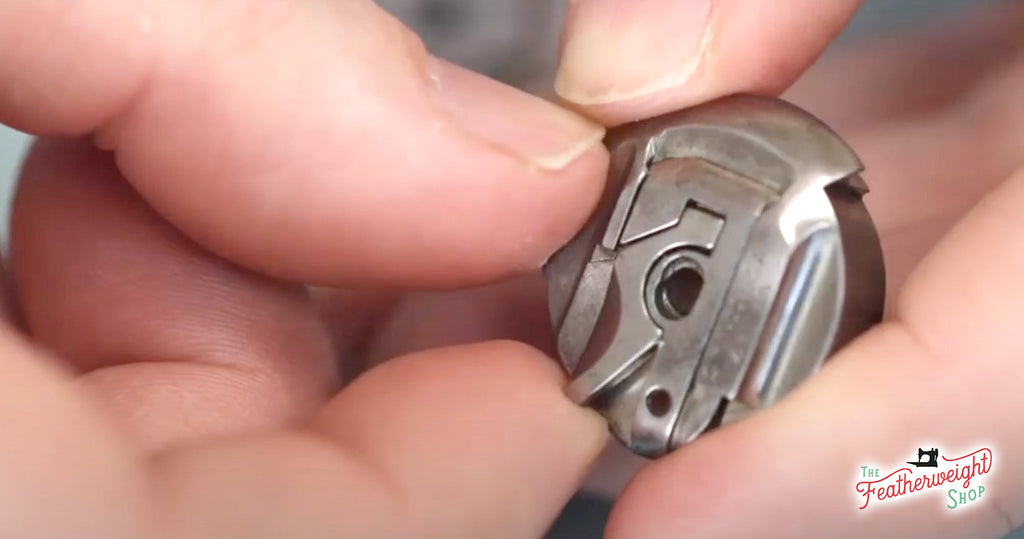
Follow along with the tutorial below to learn how to replace the Bobbin Case Latch on a Singer Featherweight 221 or 222. When does the Bobbin Case Latch need replaced or serviced? Replace the latch when it is actually broken. Service the latch when it will not spring back to its original position. To replace or service a Bobbin Case Latch, the latch will need removed. In order to remove it, access the latch screw on the inside of the bobbin case. The small Wera screwdriver works best for this, because the bobbin case latch screw is very tiny. Keep a magnetic...
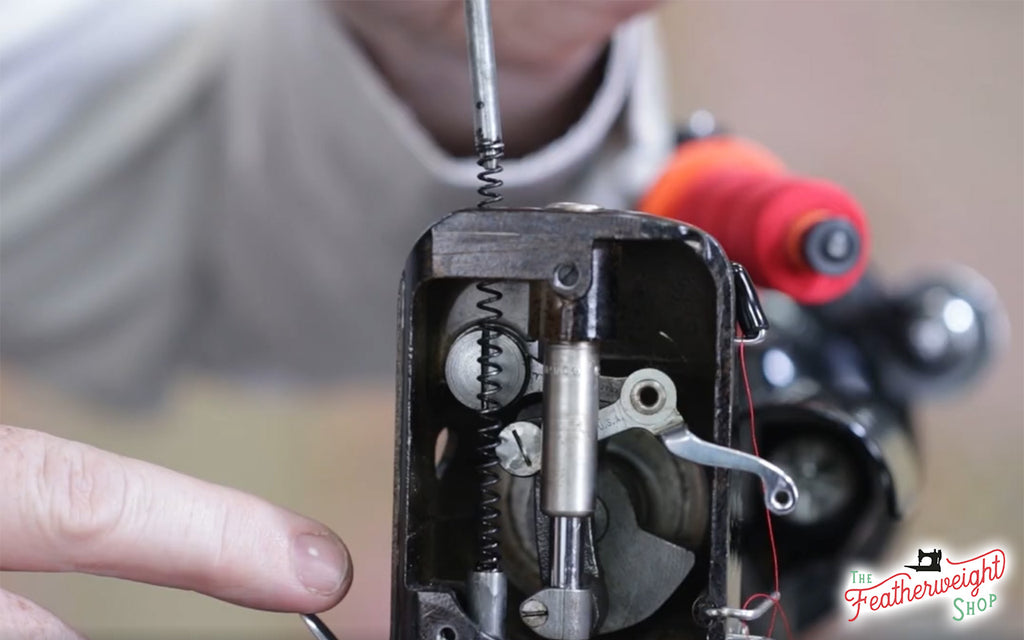
Today we are addressing a Stop Motion Knob that will not turn on your Singer Featherweight 221 or 222. Loosening the Stop Motion Knob is necessary to wind a bobbin, but being able to tighten it so that regular sewing can resume is just as important. There are two causes that prevent the Stop Motion Knob from functioning properly. Handwheel washer is positioned incorrectly. Stop-Motion Knob has been overtightened. Follow along with the video tutorial below as Carmon explains how the stop-motion knob works as well as troubleshooting these two common issues. Tools and Parts Related to Video: Wera Long Maintenance Screwdriver Stop-Motion Set...
All 221 and 222 Featherweights are Low-Shank. It was Singer's most common configuration for their household sewing machines. The term Shank refers to the position and height of the needle bar and presser bar. Below is a comparison of the four common machine shanks used by Singer. The Low-Shank: Singer's most common shank and the one that was used exclusively for the Featherweight was the Low-Shank configuration. The low shank attachments mount on the presser bar 1/2" up. The Back-Clamping Shank: The Back-Clamping shank appears to have been used primarily on the earlier 66 model Singer machines. The attachments are taller than a...
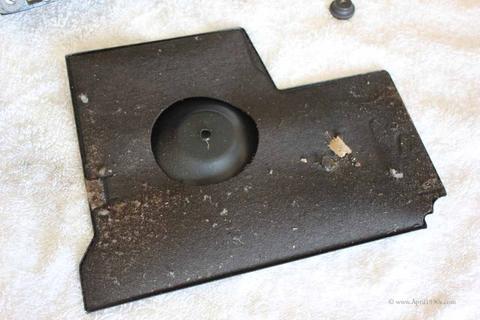
Today at The Featherweight Shop, Carmon and Ruthie will be showing you how to change the Felt Drip Pad on your Singer Featherweight properly! The felt drip pad that is underneath absorbs excess oil and, if heavily saturated, probably needs replacing. Not only will it take care of a simple routine maintenance for your machine, but it can also help eliminate some of the old musty odors that tend to collect from having been in storage for many years. Old Felt Drip Pad Felt Drip Pad Replacement Video Tutorial: Felt Drip Pad Replacement Tutorial Tools: 1. Putty Knife 2. Latex Gloves...
Welcome to The Featherweight Shop. In this tutorial, we are going to take you through the steps to replace the Thread Guide (as pictured below), which is located right above the tension unit. Thread Guide Featherweight Shop Thread Guide Replacement Video Tutorial At The Featherweight Shop, we commonly receive Featherweights that are badly damaged with corrosion or physical damage. Corrosion on Featherweight Physical damage on Featherweight Although these machines are severely damaged, they still have value in that they have usable parts on them. What we do is take the serviceable parts off of these Featherweights and use them on your Featherweights...
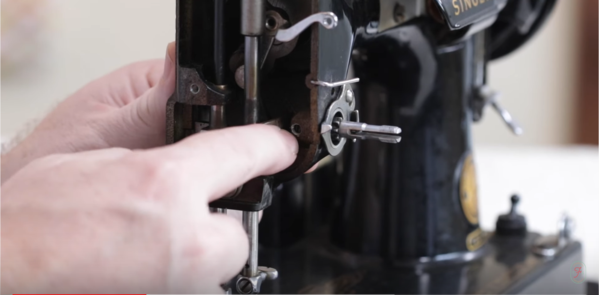
Learn how to properly remove the Tension Unit Post or stud in this step-by-step video tutorial by Carmon Henry from The Featherweight Shop. The transcript of the video tutorial, as well as all products needed to follow along are below. Please contact us with any questions or comments. Enjoy! There are a few reasons to remove the Tension Unit Post. These would include: performing a deep cleaning to the machine, preparing the machine for repainting, or if the Tension Unit has been damaged. The first step is to locate the set screw that is holding the tension unit stud in place. To do this,...
Some Featherweights are certainly harder to find than others, but how much harder? In certain areas all Featherweights may be "scarce", but internet sales have made standard Featherweights much more available. This post will address not only how many Featherweights were made each year, but also, what is considered a "Rare" Featherweight and how difficult some are to find. Below is a chart showing when Featherweight production was at its highs and lows. This chart displays Singer's production output of the black Featherweight. Manufacturing greatly slowed down and even came to a halt during WW2, but it soon rose to its height in the early...
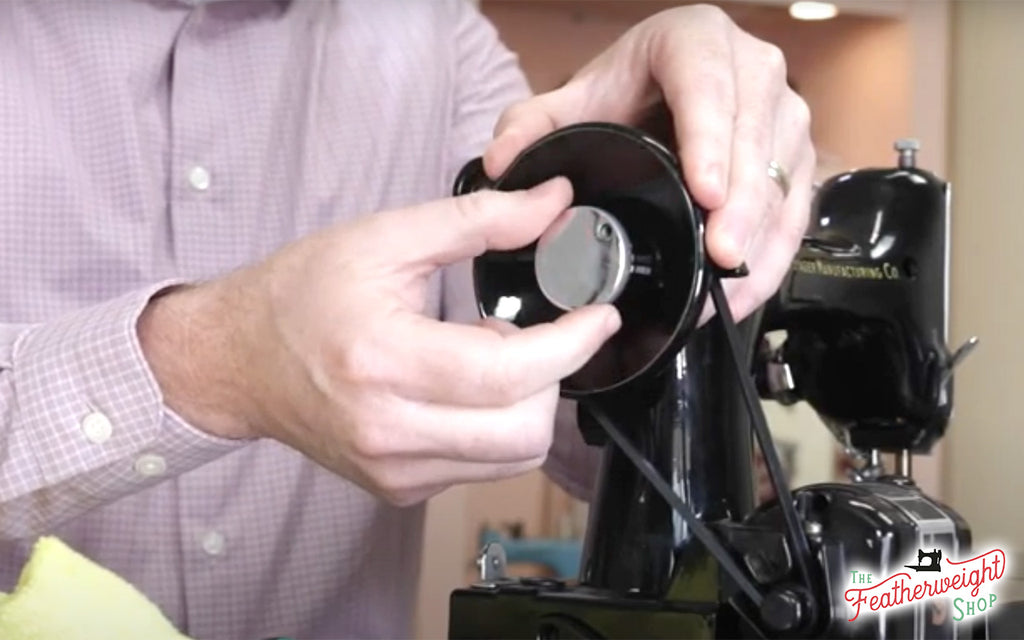
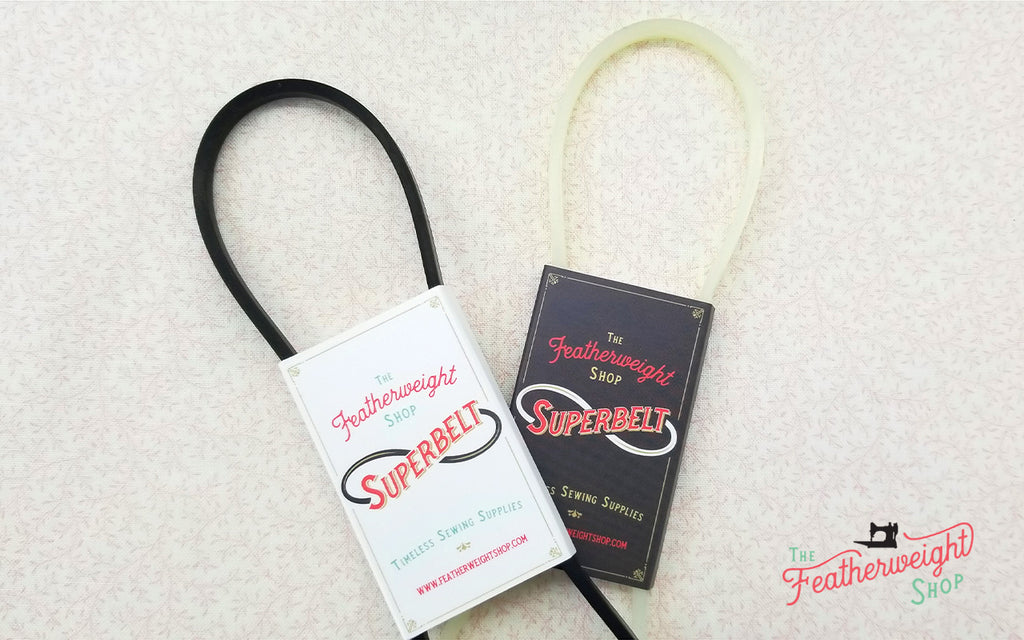
The old belt on a Singer Featherweight has a technologically advanced improvement! Softer, faster and better for your Featherweight motor performance. Learn how to install and adjust the Superbelt in the video tutorial below. Update! One of the advantages to the Superbelt is its superb grip to the handwheel. In the two years of testing, though, we have discovered that there are a few handwheels that may have a slight variation in their original manufacturing, and because the belt grips so well, it is possible that this will cause the belt to climb slightly to one side. No worries at all if...
The drip pan wouldn't be considered a mechanical piece of the Featherweight, but it does serve a few purposes. The metal drip pans hold the felt drip pad liners, which collect excess oil and grease that drips down from the moving parts in the machine. Together the drip pan and felt drip pad serve as a noise reducer. From a historical standpoint, the drip pan gives clues to when and where the machine was made. There were a total of 5 drip pan styles for the 221 and just one for the 222. 1933 Nickel Finish, Silver-Colored: The first Featherweight...
For the black Featherweights, Singer had two different connection types. They aren't interchangeable, so this article can be a reference when checking the compatibility of the machine and cord. Round Pin Plug and Terminal: The round pin terminals and plugs were used exclusively in the USA, but they can also be seen on most Featherweights sold in Canada, and Featherweights marketed to Europe prior to about 1951. The photos above show how the cords come out of the top of the plug, and the two halves of the plug are held together by two screws and nuts. A look inside...


 all articles