Part 2 of 3 - Featherweight Light Wiring Troubleshooting & Repair
Featherweight Light Wiring Tutorial Series - Part 2
In Part 1 of the Light Wiring Series, we did a basic cleaning of the light wiring lead sheath underneath the machine, which helps to remove some of the exposed oxidation residue that can build up over a long period of time. Remember, this series is only for Singer Featherweight 221 machines manufactured in the US from 1933 to 1957 and for 221 Featherweight machines manufactured in the UK from 1947 to about 1951 .
On the topic of oxidation, sometimes that residue, or corrosion, is not just on the area seen underneath the drip pan tray but can further extend all the way up to the light socket. If that’s the case, the wire sheath and light switch will need completely removed to inspect, clean and repair any damage to the wires. It sounds like it would be a difficult task to accomplish, but each step is explained as we learn more about the Singer Featherweight’s internal workings together. So, let’s proceed with this simple step-by-step maintenance procedure.
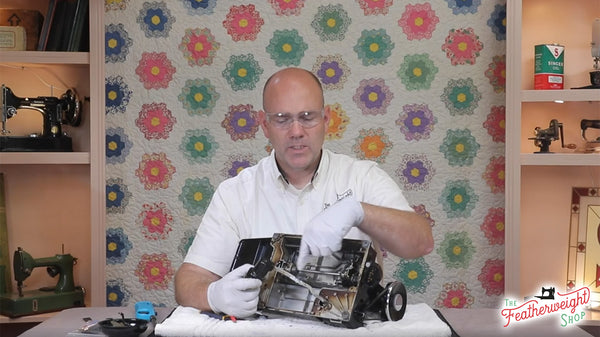
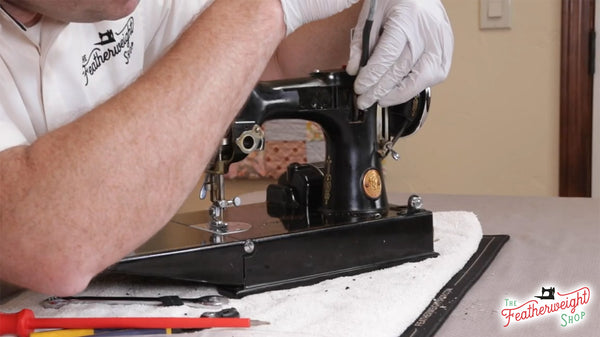
Wearing gloves will keep any oils and residue off your hands and safety glasses help to prevent any flecks from entering the eyes. As the screws and small parts are removed, be sure to keep them stored in a safekeeping container. The Featherweight Magnetic Dish works perfectly for this (and it matches the machine, too)!
Step-by-Step Tutorial:
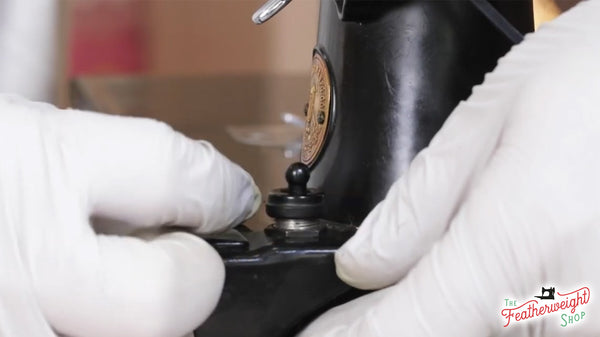
Unplug the machine and remove the light bulb and drip pan tray.
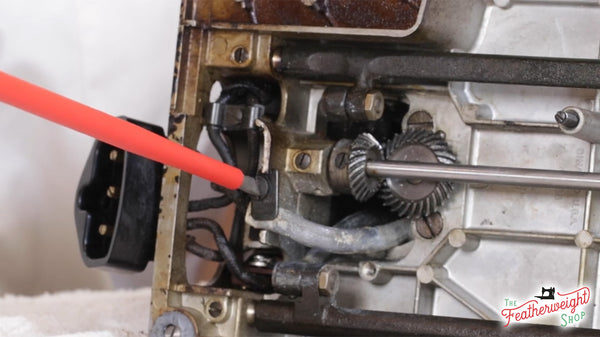
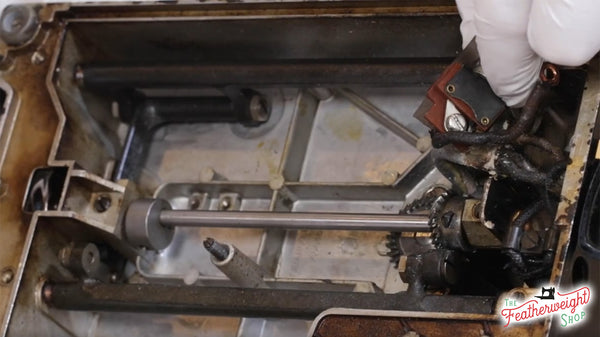
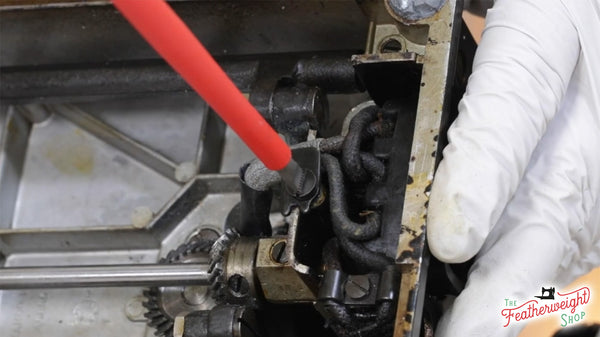
Gently pull out on the receptacle and remove the wire nut from the Number 1 and 3 wire
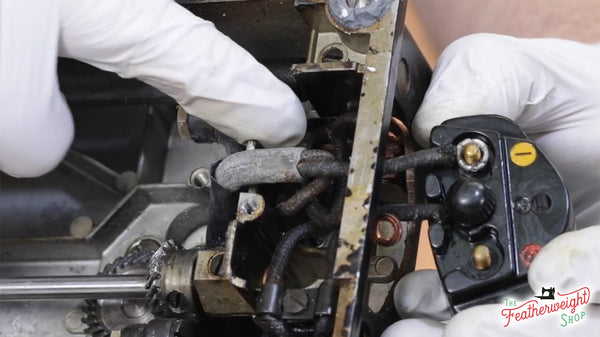
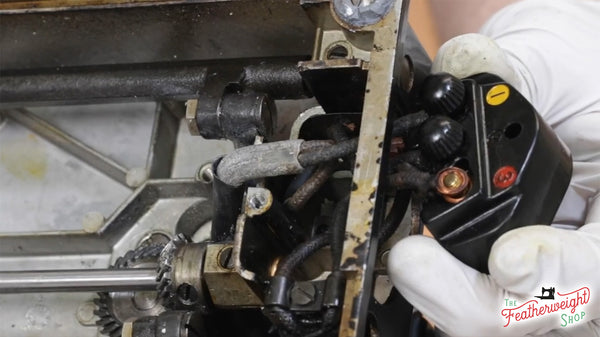
There are actually 4 wires on the back of the Terminal Receptacle. Two are for the light and two are for the motor. The one wire at #1 is for the light; the one wire at #2 is for the motor; and the two wires at #3 are for the light switch and motor to complete the circuit.
Remove the two wires at the #3 position and the one wire at the #1 position. The wire at #2 will remain in place.
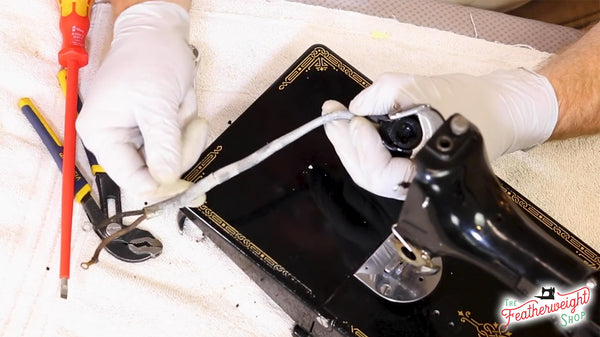
Straighten the Lead Sheath under the machine and make sure that both wires are free from the receptacle.
Now pull the light and wiring from the top of the machine. You may have to wiggle it back and forth a little bit so that the sheath works its way around the gears.
Clean the remainder of the lead wire sheath with a brush and kerosene, similar to how it was demonstrated in Part 1 of this tutorial series.
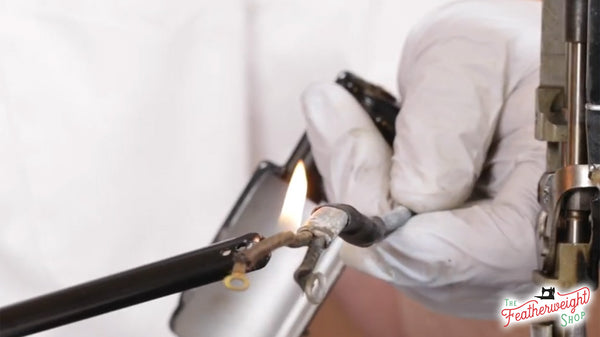
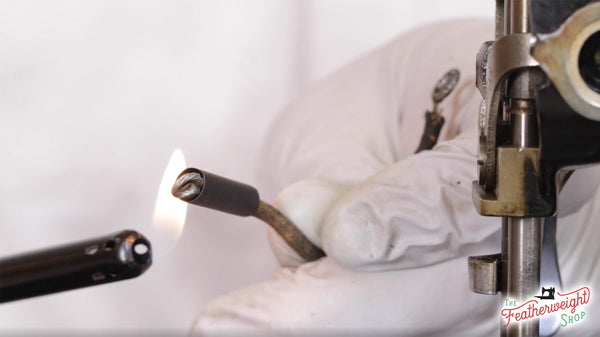
Inspect the sheath for any cracks and repair as needed with heat shrink tubing and lighter as explained in the video tutorial above. Be careful not to put the flame directly on the tubing, but just let the heat do the “shrinking”.
Heat shrink tubing is a special plastic that shrinks when heat is applied to it. It is used to protect wires and repair items like the wire sheath on the Singer Featherweight 221. Heat Shrink Tubing can easily be found at any hardware store.
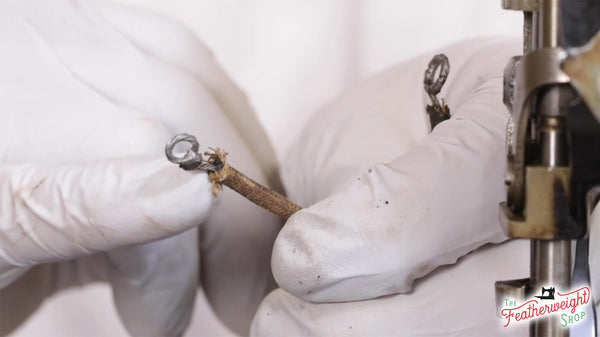
On the ends of the wire, where the eyelet is located, if the wiring is exposed, a small piece of heat shrink tubing can be used to safely secure the frayed insulation.
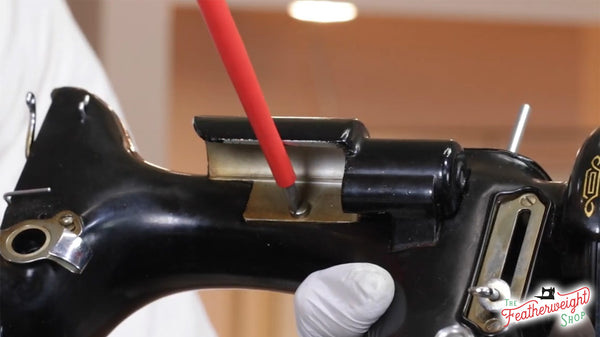
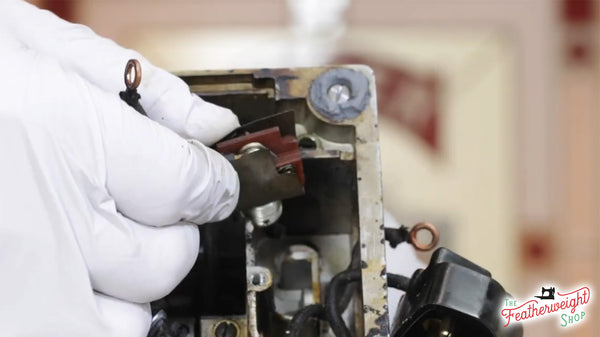
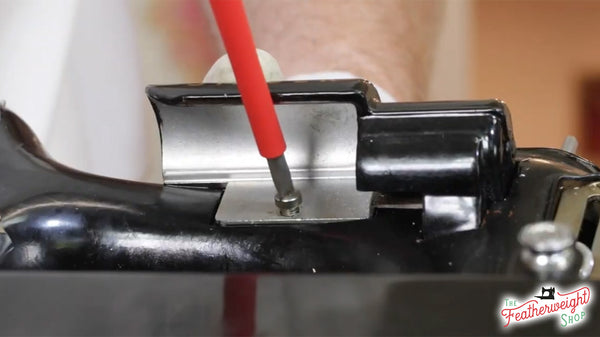
Replace the wiring and light back into the machine. Take note that one of the wires is longer than the other. After fishing the wires through the body of the Featherweight, attach the longer wire back to the light switch. The notch on the back corner of the light switch needs to face towards the terminal receptacle.
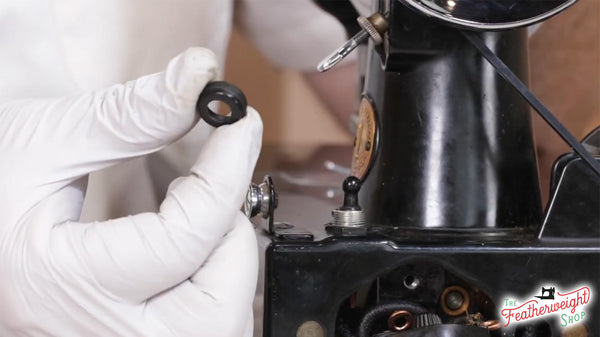
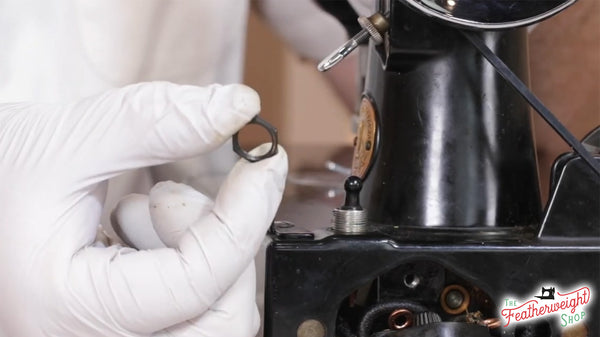
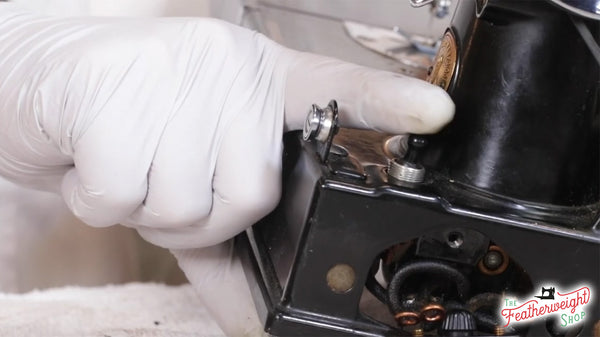
Push the light switch back up through its designated hole and replace the thin hexagon nut as well as the round bakelite thumb nut to their respective positions on the switch.
Note: The thumb nut is made of vintage bakelite and can crack easily. Be very careful not to overtighten it. If you do, no worries – we carry replacement thumb nuts in the Shop.
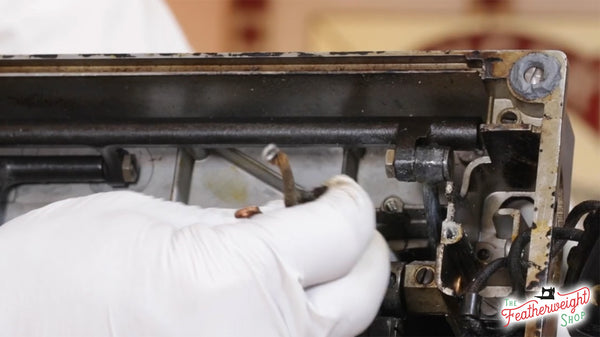
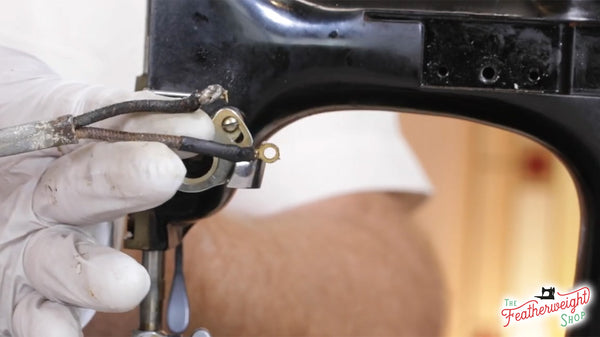
Looking back underneath the machine, return the short wire to the number 1 position on the terminal receptacle.
The number 3 position on the terminal receptacle needs the two wires returned - one from the light switch as well as one from the motor. Return the small brass washer and re-tighten the wire nut. It does not matter which wire goes on first.
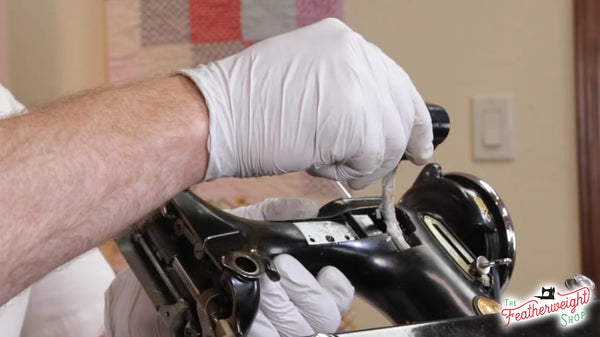
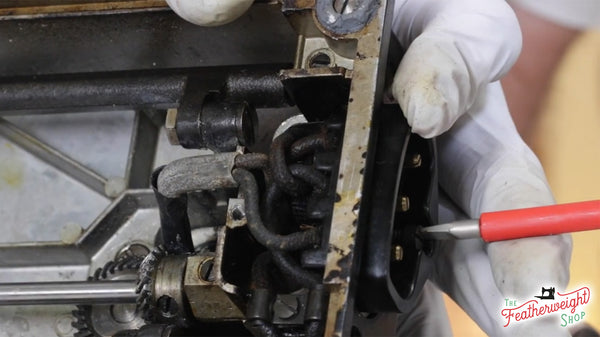
Reattach the screw to the Terminal Receptacle.
Place the screw back into the wire clamp and begin tightening. Before tightening all the way, push the wire sheath (tube) away from the gears.
Put the lamp shade screw back in its place.
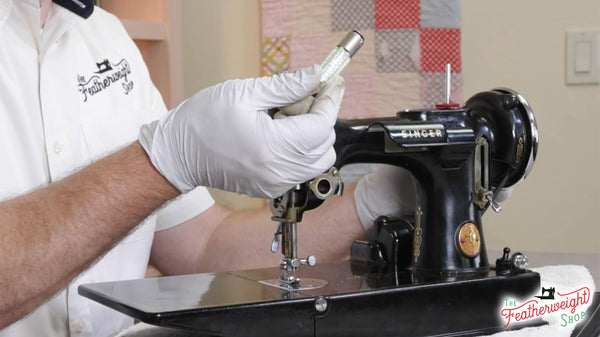
Finally, replace the light bulb. If you have not experienced a better illuminated sewing area on your machine from an LED bulb, the Bright White is one of the most requested items from our Shop. The LED bulb does often require a firm turn to lock into position. Review the tutorial here on what makes our bulbs different and how they work in all Singer Featherweights – yes, even the white Singer Featherweight 221!
Plug the machine back in. The light wiring is cleaned, maintained and the Singer Featherweight is now ready to sew illuminated again!
Occasionally, even with proper maintenance, the Singer Featherweight light will still flicker. Usually, the cause is from the pins in the light socket being worn out. Stay tuned to Part 3, and our final tutorial in the Light Wiring Series, and we’ll show you how to troubleshoot and repair a flickering light.


 Part 2 of 3 - Featherweight Light Wiring Troubleshooting & Repair